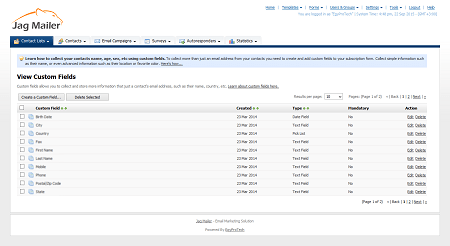
Creating and Editing Custom Fields
Take the following steps to create a custom field:
- Click Custom fields in the navigation bar, then click Create custom field.
- Select the Custom field type:
- Select Text field to create a field into which the user may enter a single line of text.
- Select Multiline text field to create a field into which the user may enter multiple lines of text.
- Select Numbers only to create a field into which the user may enter numerals only.
- Select Pick list to create a drop‐down list box from which the user may select an option.
- Select Checkboxes to create one or more check boxes from which the user may select multiple options.
- Select Radio buttons to create one or more radio buttons from which the user may select a single option.
- Select Date field to create a field from which the user may select a date. You can limit the years available for selection
- Enter the name for the field in the Custom field name field
- If you want Interspire Email Marketerto allow users to join a contact list only once they have completed this field, select the Is this field required? check box.
- Click Next. The fields that display in the next screen depend upon the Custom field type you selected:
- When you have completed the fields in this screen, click Next.
- Select the contact list (or lists) in which you want to use this custom field.
- Click Save to finish configuring your custom field. The View custom fields screen displays